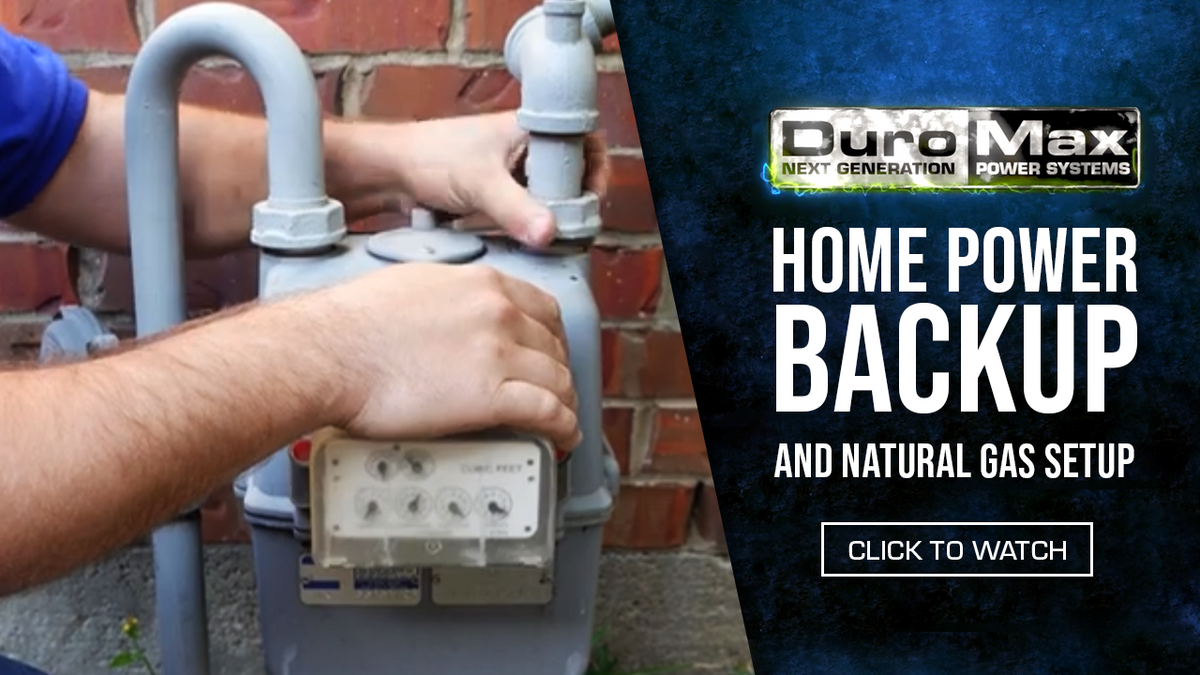
At DuroMax, we believe in Power Independence and being in control of your home. We’ve taken the guesswork out of home power backup and simplified what it means to stay powered with our line of portable generators that are affordable, available, and easy to install, use, and maintain.
Unlike standby generators, portable generators can be hooked up to your home in different ways:


How to Install an Interlock Kit
An Interlock Kit is a mechanical device that creates a safety shield between your main breaker and your generator’s backfeed breaker. This prevents both breakers from being turned on at the same time.
This is the easiest and most versatile option for connecting your generator to your home, and allows you to use your current electrical panel and choose which circuits you want to run. Once installed, you have the flexibility of switching up your circuits depending on your power needs.
To install the interlock kit the first step will be to choose the correct interlock kit, inlet box, and adapter for your main panel.

To help choose the right interlock kit you’ll need to notate some important information from your main panel including the panel brand, the amperage of the main breaker, the measurement between the main breaker and your branch breakers, the location of the main breaker (centered, offset to right, or offset to the left), and the direction the main breaker flips (up and down, or right and left).

The inlet box and adapter needed will be based on your generator’s largest capacity outlet to take full advantage of the generator output.
Once you have purchased all the items needed the next step will be installing the interlock kit on your panel. To do this you’ll want to first read the interlock kit instructions to help identify and separate the parts before you begin and ensure you have the correct tools for the job.

The main breaker switch should be in the off position before any installation occurs, then you can start removing the front breaker panel cover.
Please note to be cautious when removing the front panel cover to avoid touching any bare wires.

After the front breaker panel cover is removed flip the panel cover over and line up the interlock kit in the appropriate location, then mark the drill hole points.
Once the holes are marked, you can drill them out and install the kit on your panel cover.

Finally, after the interlock kit is secured, then you can install the panel cover plate back onto your panel to complete the installation.
How to Install a Transfer Switch
Another common method of connecting your generator to your home is through a Transfer Switch. A Transfer Switch is a subpanel that switches your preselected breakers to generator power during an outage. With a properly-sized Transfer Switch, you won’t have to worry about overloading your generator.

To install the transfer switch, you’ll first want to choose the correct version based on your generator type; to do this you’ll need to know if your generator is a floating or bonded neutral, and the maximum rated capacity of the generator.
Please note that most generators will have this information labelled next to the control panels grounding bolt or on the stator housing.
If the generator is a floating neutral, then a standard 2-pole transfer switch will be sufficient, and if the generator is a bonded neutral, then a 3-pole transfer switch with neutral switching will be needed.
If the generator outputs 7200 watts or under, then typically you’ll need a 6-circuit transfer switch with a 30-Amp inlet.
If the generator outputs above 7200 watts, then typically a 10-circuit transfer switch with a 50-Amp inlet will be needed.

The final step on choosing the right transfer switch will be to determine if you’d prefer an automatic transfer switch that automatically switches to generator power once the main power turns off, or whether a manual transfer switch that requires a user input to switch to generator power is the better option.
Please note that only generators that offer automatic starting and an ATS outlet will be compatible with automatic transfer switches; and if these features aren’t available, then you’ll want to go with a manual transfer switch.
Once you have purchased the correct transfer switch, then you can contact your local certified electrician to help you with the installation.


How to Connect Extension Cords
Finally, you can power your appliances by connecting them directly to your generator with Extension Cords. While you’re limited to the number of outlets on your generator, this method requires zero commitment and installation: Simply plug in your appliances and go!
If you choose the extension cord connection method, then you’ll want to ensure your choosing the appropriate extension cord type for the items you’re looking to power.

If you’re planning to use the standard 120V 3-prong 15-Amp outlet (NEMA 5-15), then you should be using at least a 14-gauge extension cord up to a maximum length of 25 ft.
If you need an extension cord longer than 25 ft., you’ll need a minimum of a 12-gauge extension cord up to a maximum length of 100 ft.
If you need an extension cord longer than 100 ft., you’ll need a minimum of a 10-gauge extension cord up to a maximum length of 150 ft.

If you’re planning to use the standard 120V 3-prong 20-Amp receptacle (NEMA 5-20), then you should be using at least 12-gauge extension cord up to a maximum length of 50 ft.
If you need an extension cord longer than 50 ft., then you’ll need a minimum of a 10-gauge cord up to a 150 ft maximum length.

Please note that higher draw appliances should be the only electrical item on each individual extension cord/ outlet.
If you have multiple high draw appliances, but not enough 3-prong outlets to feed them individually, then you can choose to get a split adapter for your generators 30-Amp or 50-Amp outlet to divide the power into multiple 15 or 20-Amp 3-prong outlets for your additional extension cords.
The 30-Amp split adapters can come in many various forms, but the most common split adapter type for thisoutlet size will be a NEMA L14-30P to (4) NEMA 5-20R.

If a 30-Amp split adapter is used, then you’ll need at least a 10-gauge adapter up to 50 ft.; and if exceeding the 50 ft. length you’ll need at least an 8-gauge cord up to 100 ft. Please note that it’s not recommended to exceed 100 ft length for a 30-Amp connection.
The 50-Amp split adapters can also come in many various forms, but the most common split adapter type will be a NEMA 14-50P to (4)
NEMA 5-20R.
If a 50-Amp split adapter is used, then you’ll need at least a 6-gauge wire up to a 50 ft. length. Please note that it’s not recommended to exceed a 50 ft. length for any 50-Amp connections.